
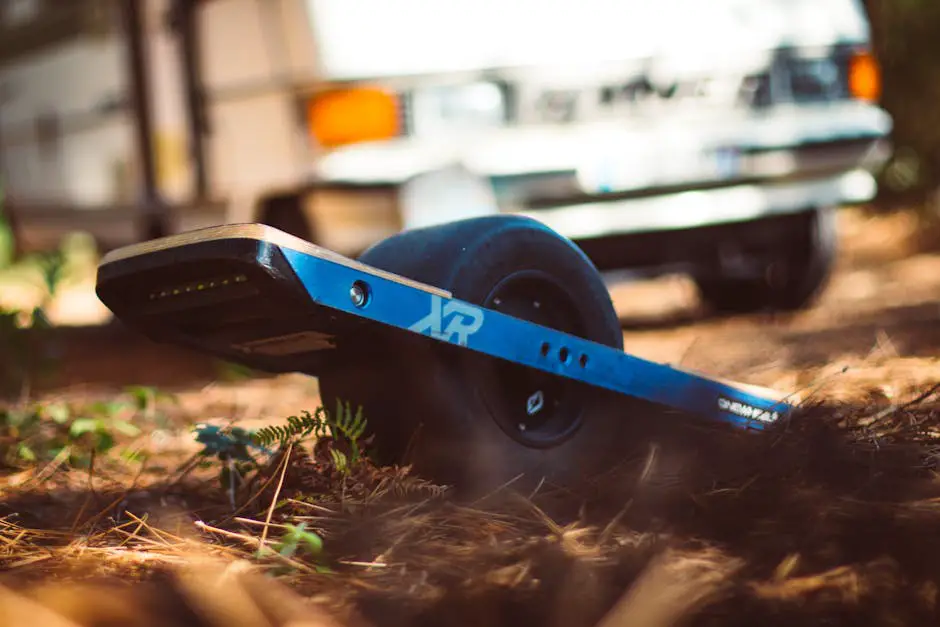
Building your own electric skateboard is an exciting process that brings together the thrill of skating with the satisfaction of creating something with your hands. This guide will walk you through the essential steps and components needed to bring your custom ride to life. Whether you’re a seasoned skater or new to the DIY world, this write-up will provide the knowledge you need to get started on assembling an electric skateboard that’s tailored just for you.
Selecting Components
Building an electric skateboard combines the thrill of skateboarding with the tech-savviness of DIY electronics. Here, we’ll dive into the essential components you’ll need to assemble your own electric skateboard. Whether you’re cruising through the city or looking for a new project, let’s get started on creating a ride that’s uniquely yours.
Supplies
:- Skateboard deck (1 pcs): The foundation of your build. Choose a size that fits your stance and comfort.
- Electric motor (1 pcs): This provides the power to propel your skateboard. A brushless motor is commonly used for its efficiency.
- Electronic Speed Controller (ESC) (1 pcs): Acts as the brain, controlling the speed and braking of your motor.
- Batteries (1 pack): The fuel for your ride. Lithium-ion batteries are preferred for their rechargeability and endurance.
- Motor mount kit (1 set): To securely attach your electric motor to the skateboard.
- Drive wheel kit (1 set): Transfers the motor’s power to your skateboard’s wheels.
- Remote control (1 pcs): For steering and speed control on the go.
- Tools: Screwdriver set, wrenches, and possibly a drill, for assembling components together.
Assembly Steps
:Step 1: Preparing the Deck
Start by selecting a skateboard deck that feels comfortable. Larger decks offer more stability, which is beneficial for electric skateboarding.
Step 2: Installing the Motor and Motor Mount
Attach the motor mount to your skateboard’s rear truck using the bracket provided in your kit. Secure the electric motor onto the mount. Ensure it’s tight and aligned with the direction of travel.
Step 3: Setting up the Drive Wheel
Following your drive wheel kit instructions, replace one of the rear wheels with the drive wheel that connects to your motor. This step is crucial for transferring power efficiently.
Step 4: Mounting the Battery and ESC
Choose a balance point on your deck (usually between the trucks) to affix the battery pack and ESC. Use double-sided tape or a mounting bracket if provided. Ensure the ESC is accessible for adjustments and connections.
Step 5: Wiring
Connect the motor to the ESC, and then link the ESC to your battery pack. Follow the wiring diagram carefully to avoid shorts. Ensure all connections are secure and insulated.
Step 6: Connecting the Remote Control
Pair your remote control with the ESC as per the controller’s instruction manual. This step varies depending on the make and model of your ESC and remote.
Step 7: Test and Troubleshoot
Before hitting the road, do a static test. Turn on the skateboard and slowly increase the throttle to check motor function and wheel rotation. If everything runs smoothly, you’re ready to go. Address any issues if necessary, checking connections and setup.
In Closing,
Crafting your own electric skateboard is a rewarding project that mixes the joys of skateboarding with the thrill of DIY electronics. With the right components and careful assembly, you’re all set to cruise in style. Remember, safety first—always wear protective gear while riding.
Creating an electric skateboard is just the beginning. Experiment with different decks, batteries, or motor configurations to customize your ride. Enjoy the ride and happy building!

Assembling the Electric Skateboard
Continuing from the foundational steps already covered, let’s dive into the next phase of finalizing our electric skateboard assembly and ensuring it’s ready for the streets.
Step 1: Secure the Enclosure
- Choose a lightweight, durable enclosure that fits the dimensions of your skateboard deck and accommodates your battery and ESC snugly.
- Position the enclosure on the deck, ensuring it does not interfere with the wheels or your stance.
- Mark the spots for drilling holes on the deck through the mounting points on the enclosure.
- Carefully drill the holes, being mindful not to damage the deck or components inside.
- Use screws and bolts to securely attach the enclosure to the deck. Apply a strip of rubber or foam around the edges of the enclosure for added protection and to prevent vibrations.
Step 2: Fine-Tuning
- Check the tension in the motor belt. It should be tight enough to avoid slipping but not so tight that it strains the motor. Adjust the motor mount if necessary.
- Ensure the wheels spin freely without wobbling. Tighten or loosen the wheel nuts accordingly.
- Configure the ESC settings according to your preference for acceleration and braking intensity. Use the ESC’s programming card or connect it to a computer if required.
Step 3: The Final Check
- Ensure all screws, bolts, and components are tightly secured.
- Verify the remote control is fully charged and functioning properly.
- Check the battery charge level and ensure there are no exposed wires or connections.
- Stand on the skateboard to ensure the deck feels stable and responsive.
Step 4: The Maiden Voyage
Congratulations! You’re ready for the first ride. Start slow, get accustomed to the skateboard’s handling and response. Practice in a safe, open area before venturing into more crowded spaces.
Step 5: Maintenance and Upkeep
Maintaining your electric skateboard ensures longevity and safety. Regularly check for loose components, wear and tear, and battery health. Clean the board and components to keep them free from dirt and grime, which can hinder performance.
With your electric skateboard now fully assembled and tested, you embark on a journey of convenience, fun, and adventure. Remember, the beauty of DIY projects lies in customization. Don’t hesitate to upgrade components or personalize your skateboard to match your style and needs. Whether commuting or cruising for pleasure, your electric skateboard is a testament to your skill and creativity. Happy riding!
Wiring and Electronics Setup
Wiring the Components and Configuring the Electronics for an Electric Skateboard
Supplies:- Electric skateboard components (previously assembled)
- Soldering iron and solder
- Electrical tape or heat shrink tubing
- Multimeter
- Wire cutters/strippers
- Screwdriver set
- Digital multimeter
Step 1: Preparing the Wires
Before connecting any components, ensure that all wires are of adequate length and stripped at the ends. Approximately 1/4 inch of insulation removed from the wire ends should suffice for a proper connection. If using heat shrink tubing, slide this onto the wires before soldering.
Step 2: Soldering Connections
Start by soldering the motor wires to the Electronic Speed Controller (ESC). The motor will have three wires which correspond to the three connections on the ESC. It’s crucial to ensure a solid solder joint as this connection transmits high currents when the skateboard is in use. If your connections are weak, it can lead to performance issues or damage to the components.
After soldering, cover each joint with electrical tape or heat shrink tubing to prevent short circuits. Use a heat gun or lighter to shrink the tubing if that’s what you’re using.
Step 3: Connecting the Battery
The ESC also needs to be connected to the battery. This usually involves connecting the red wire from the ESC to the positive terminal of the battery and the black wire to the negative terminal. If your setup includes a power switch, make sure to incorporate it between the battery and the ESC according to its wiring diagram. Solder these connections for durability and use heat shrink tubing to insulate the connections.
Step 4: Attaching the Receiver
Your ESC should come with a built-in or separate receiver for the remote control. Find the channel on the receiver meant for the throttle (usually channel 2) and connect the corresponding cable from the ESC to this channel. The connection typically involves a simple plug; ensure it seats firmly.
Step 5: Checking Connections with a Multimeter
Use a digital multimeter to check each connection for proper soldering and to ensure there are no short circuits. Set the multimeter to the continuity check mode. Touch the probe ends to each side of a connection; a continuous beep from the multimeter indicates a good connection. Check for shorts by touching one probe to the positive and one to the negative terminal; the multimeter should not beep.
Step 6: Configuring the ESC
Follow the manufacturer’s instructions to configure the ESC. This process typically involves connecting the ESC to a computer or using a programming card. You will need to set parameters such as the battery type, cutoff voltage, braking strength, and throttle curve to ensure optimal performance and safety.
Step 7: Securing the Electronics
Once all components are correctly wired and configured, secure the ESC and receiver within the skateboard’s enclosure. Make sure that none of the wires are pinched or in a position where they could rub against moving parts. Use zip ties or double-sided foam tape to keep wires tidy and prevent them from moving around during use.
Final Check and Test Drive
Before taking your electric skateboard for a spin, do a final inspection. Check all connections for tightness, ensure the components are securely mounted, and inspect the enclosure for any gaps that might allow debris inside. Once everything checks out, take your skateboard to a safe area and test it at a low speed to confirm everything operates as expected.
Remember, this guide assumes you have a basic understanding of electronic components and soldering. If you’re unsure about any steps, seek advice from someone experienced or consult online forums specific to electric skateboarding for guidance. Safety should always be your top priority.
Through this detailed guide, we’ve explored the ins and outs of assembling an electric skateboard from scratch. The journey from selecting the right parts to the final test ride is not just about creating a mode of transport, but building a piece of technology that reflects your personal style and needs. Remember, the key to a successful build lies in attention to detail, patience during assembly, and a willingness to learn from the process. Your custom electric skateboard stands as a testament to the blend of technology and personal expression. Ride with pride, knowing every piece of your skateboard has been carefully chosen and assembled by you.

