
Embarking on the journey of building your very own electric trike can be an exciting, yet challenging endeavor. This project requires a solid understanding of the different components of the trike, careful acquisition and assembly of parts, and the precise handling of the electrical system. By beginning with a deep dive into the individual elements of the electric trike – the frame, motor, battery, brakes, and wheels – you can begin to understand how each part comes together to form the complete machine. The pursuit doesn’t stop there though; skillful locating and assembling of various parts are just as important and require a good comprehension of necessary tools.
Understanding Electric Trike Components
Understanding the Essentials of an Electric Trike Anatomy
Electric trikes, or tricycles, are reshaping the modern transport landscape, not just for the fun of it, but also for eco-friendly utility purposes. They’re a perfect blend of cost-effectiveness, fitness, and a pure thrill that can resonate with the hobbyist, commuter, or adventurer within you. However, it’s crucial to comprehend the fundamental components of an electric trike before embarking on the journey. Here are key pieces to this incredible three-wheel puzzle:
- Electric Motor:
The heart of an electric trike is undoubtedly its motor. This is where the power to propel your trike comes from. Units are usually situated on the trike’s front or rear wheel hub, and the power output can range from 200W up to 1000W depending on the model. More powerful motors provide more speed but can drain batteries quicker. - Battery:
Speaking of which, the battery powers the electric motor and plays a significant role in determining range and speed. It’s generally lithium-based and rechargeable. Battery life varies based on its capacity (measured in ampere-hours or Ah), the motor’s power, terrain type, and even riding style. Remember, recharging the battery is as easy as plugging it into an ordinary electrical socket. - Frame:
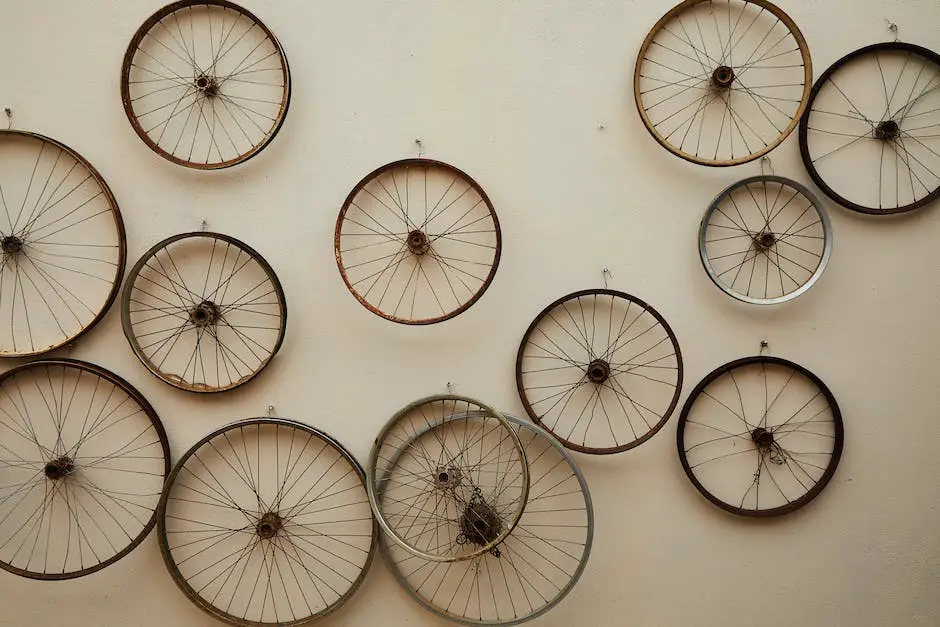
The frame is the trike’s backbone, and it holds the various parts together. It’s made of strong, lightweight materials like aluminum or steel that can withstand varied weather conditions. Keep in mind that a well-constructed frame will ensure stability and longevity. - Wheels:
Three’s the magic number here! Electric trikes have a unique three-wheel design that provides that extra stability, particularly for people with mobility issues. The front wheel usually comes with the motor inside the hub, and the two rear wheels help in balancing and cargo support. - Handlebars and Controls:
The handlebars are not merely for steering. They house essential controls such as brakes, throttle, and often a display panel showing vital information such as speed, battery level, distance covered, and more. - Brakes:
The safety of the ride is largely reliant on the effectiveness of the brakes. Electric trikes typically incorporate disc brakes, providing powerful stopping capabilities, especially essential in wet conditions. - Seat:
Electric trikes are designed for comfort and extended rides. The seats tend to be larger with proper back support and cushioning for a pleasant ride. - Pedals:
Just because it’s electric, doesn’t mean you can’t get some exercise! The pedals allow for manual operation whenever desired or necessary, like when the battery runs out of juice.
Clearly, every part of the electric trike has been thoughtfully designed to provide the rider with a unique, comfortable, and fun riding experience. Once you understand these components and how they work together, you can fully appreciate the engineering marvel that an electric trike truly is. Now, are you ready to trike off on your next adventure?

Sourcing and Assembling Parts
# Elevating Your Project with the Best Bicycle Parts and Assembly Tips
A new dawn is upon us dear readers, bringing forth the exhilarating opportunity to customize our bicycles. With a cavalcade of components and creative options waiting for us, let’s delve into the spheres of procurement and assembly. It’s time to infuse and build your creation from the ground up.
Where to find Outstanding Bicycle Parts
Before we whip ourselves into assembly mode, we need to explore where the finest parts for our project can be found. Wonderfully, the digital global marketplace offers a plethora of online stores like Chain Reaction Cycles, Wiggle, or Bike-Discount that specialize in a wide range of excellent parts. Remember to check for clearance sales, and subscribe to newsletters for updated deals.
Physical bike shops are also a great option as they give the opportunity to physically examine parts and gain invaluable expert advice. Trustworthy establishments often boast a wide variety of parts such as gears, shocks, axles, and bolts.
Additionally, consider visiting local swap meets, garages sales, or flea markets. You never know when you might come across a treasure trove of vintage or specialised items. Just remember to ensure parts are of good quality and safe to use.
Assembling Your Customized Bicycle: A Masterclass
Creating an exceptional bicycle is akin to crafting an exceptional piece of art. It’s not just about the components, but also about how everything is assembled.
Gears: The Bicycle’s Metronome
A bicycle’s gears create the harmony of motion. They play a critical role in every ride and should not be overlooked. When assembling, make sure the chain is threaded through the gears correctly and ensure they shift seamlessly from one to another. A misadjusted gear could turn a leisurely ride into an uphill battle.
The Art of Suspension: Shocks
As for shocks, they’re the unsung heroes in the realm of bicycle parts, absorbing impacts and providing smooth rides for cyclists. Mount them properly on the frame, ensuring they line up with your bicycle’s measurements. An improperly mounted shock may result in a less comfortable ride.
Steel Comrades: Axles and Bolts
Axles and bolts may be small, yet they play a mighty role in the overall cohesion of the bicycle. Make sure they’re adequately tightened without going overboard as it may cause unnecessary strain on the bicycle parts.
With knowledge to guide and enthusiasm to fuel us, the world of customized bicycles stands ready for us to explore. So, go ahead and get those hands dirty, create something magical, and don’t forget to share your progress and results. The road of personal bicycle customization is beckoning, let’s ride on it together. The bicycle of your dreams is just a few careful constructions away.
Electric System Installation
The Finishing Touches: Installing an Electric System on Your Trike
With our trike’s main components already explained in detail, we are now ready for the exciting part. Installing the electric system can transform an ordinary trike into a powerful machine, ensuring an exhilarating ride. We’ll delve into the simple yet comprehensive instructions on integrating the final part of your trike—the wiring system.
First off: controller installation. The controller serves as the brain of your trike’s electric operation; it manages the power flow from the battery to the motor, granting you control over acceleration and speed. Mount it adjacent to the battery compartment, ensuring the wires can comfortably reach both the battery and the motor. Pay close attention to wire alignment and securely fasten the controller onto the frame.
Next, is the connection of the motor and battery to the controller. This typically involves plugging wires into the right spots on the controller—no soldering involved. Yet, it’s crucial to adhere to the color coordination or numbered plugs supplied with your specific kit. Misalignments can potentially damage your trike’s electrical components.
With motor and battery linked to the controller, you’re ready to connect throttle and power-on wires. The throttle wire links your handlebars to the controller, translating your command into action. It’s an easy plugin to your controller as depicted in your kit’s manual.
The power-on wire, however, comes with an added switch assembly to control the flow of electricity. It generally consists of two wires—one from the battery, another to the controller. Appropriate connection is needed here, with usage of a switch in between.
Now focus on the electronic speed controller (ESC). The ESC is an interface between the throttle and the motor, controlling acceleration and braking actions. Its connection depends on the specific type of ESC and the nature of throttle used, but it typically involves inserting wires from the throttle into the ESC and fastening securely.
Last but not the least is the step of protection and concealment. With all your wiring securely fastened, it’s time to protect them from weather and the occasional bump. A wire loom or plastic spiral wrap can work wonders here. They not only make your electric system more resilient to damages but also give your trike a clean, professional look.
Remember, every project is unique and that’s the beauty of creating your custom trike. Don’t be disheartened if you face a few bumps along the way. It’s a journey of learning and fun. Keep your toolkit handy, follow the instructions and appreciate every moment—because nothing can match the joy of seeing your creation come alive! Charge your battery, strap on a helmet, and feel the thrill of your electric trike in motion. A bountiful sense of achievement and an exciting ride awaits! Happy Trailblazing!
Once the trike is physically assembled, the installation of the electric system becomes the final but crucial step. Safety is of utmost importance here, as improper handling can lead to dangerous consequences. You must thoroughly understand how to install the battery and motor, as well as wiring the system appropriately. All in all, constructing your own electric trike is a wonderful fusion of mechanical and electrical engineering. Take it step by step, keep safety paramount, and the end result will surely be a rewarding and remarkable achievement.

